Cohorts are private communities, visible only to users added by an admin. Once a user is added, the cohort page, events, and CTAs will be integrated into their dashboard view and notifications will be delivered via email, much like any other community.
How to create a cohort
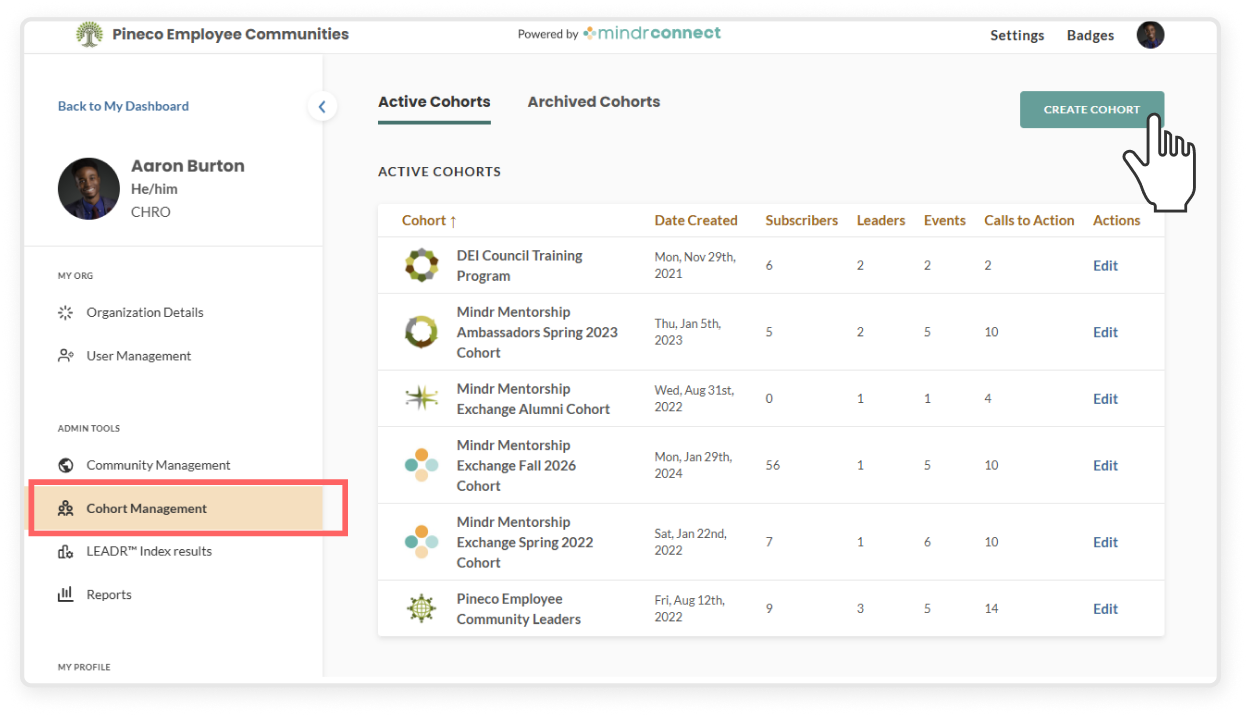
In the top right corner, click Settings
On the left sidebar, under Admin Tools click Cohort Management
Click the green Create Cohort button
Fill out required info and upload images
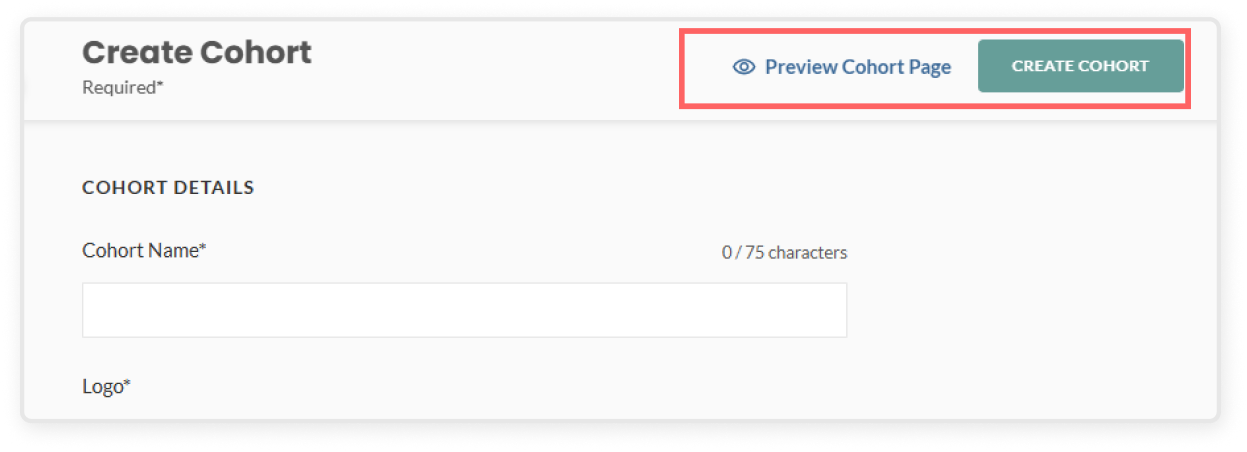
Add the cohort name, subtitle, and description
Upload a logo that will appear on the cohort card and detail page
Add a thumbnail image that shows on the dashboard
Upload a banner image that appears at the top of the cohort detail page
Upload featured images to give the page more visual context
Assign a leadership team by adding one or more leaders who will help manage the cohort. If leaders have not been identified yet, add yourself or another point of contact in the meantime
Add optional but helpful details
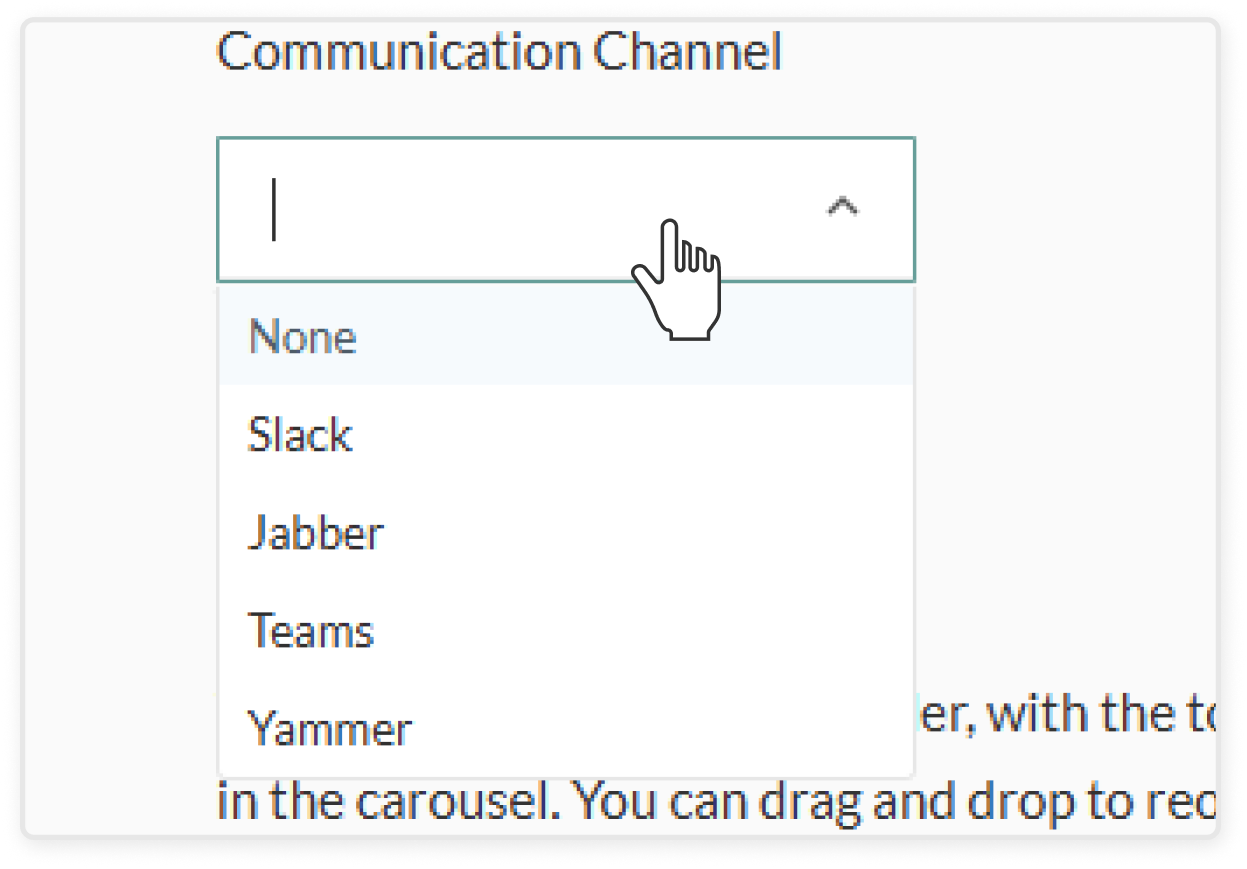
Add communication channel info if there are other places where your cohort connects, such as Slack or Microsoft Teams
Include recommended resources that users can view or download. You can drag and drop to reorder the resources using the icon at the front.
Enable Yearbook View if you want participants to see who else is in the cohort
Review and publish a cohort
Click Preview Page to view how the cohort page will appear to users
Double-check all details, including leadership and resources
Click Create Cohort to publish
Make sure the new cohort appears under the Active Cohorts tab
Edit an existing cohort
On the left sidebar, under Admin Tools click the Cohort Management
Go to the Active Cohort tab
Click Edit on a cohort in the table, or if you're already in a cohort managing events, CTAs, or others, you can click Cohort Details in the left sidebar under Cohort Management
Make your changes and click Save to update the page
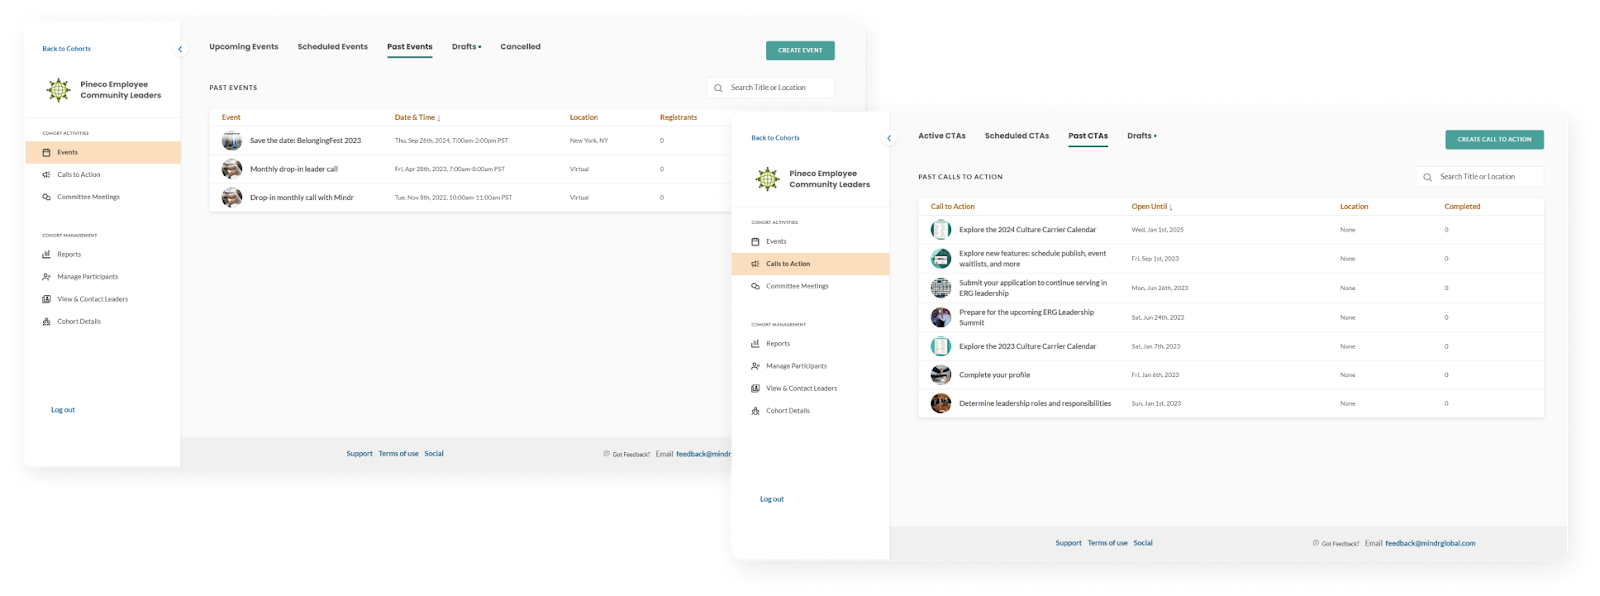
Create events and CTAs within a cohort
Events and CTAs can be created and published within Cohorts, just like Communities. However, with Cohorts, this content will only be visible to users who have been added to the cohort by an admin.